How to Lube Mechanical Switches
HOW-TO
Change the Badge & Knob
Overview
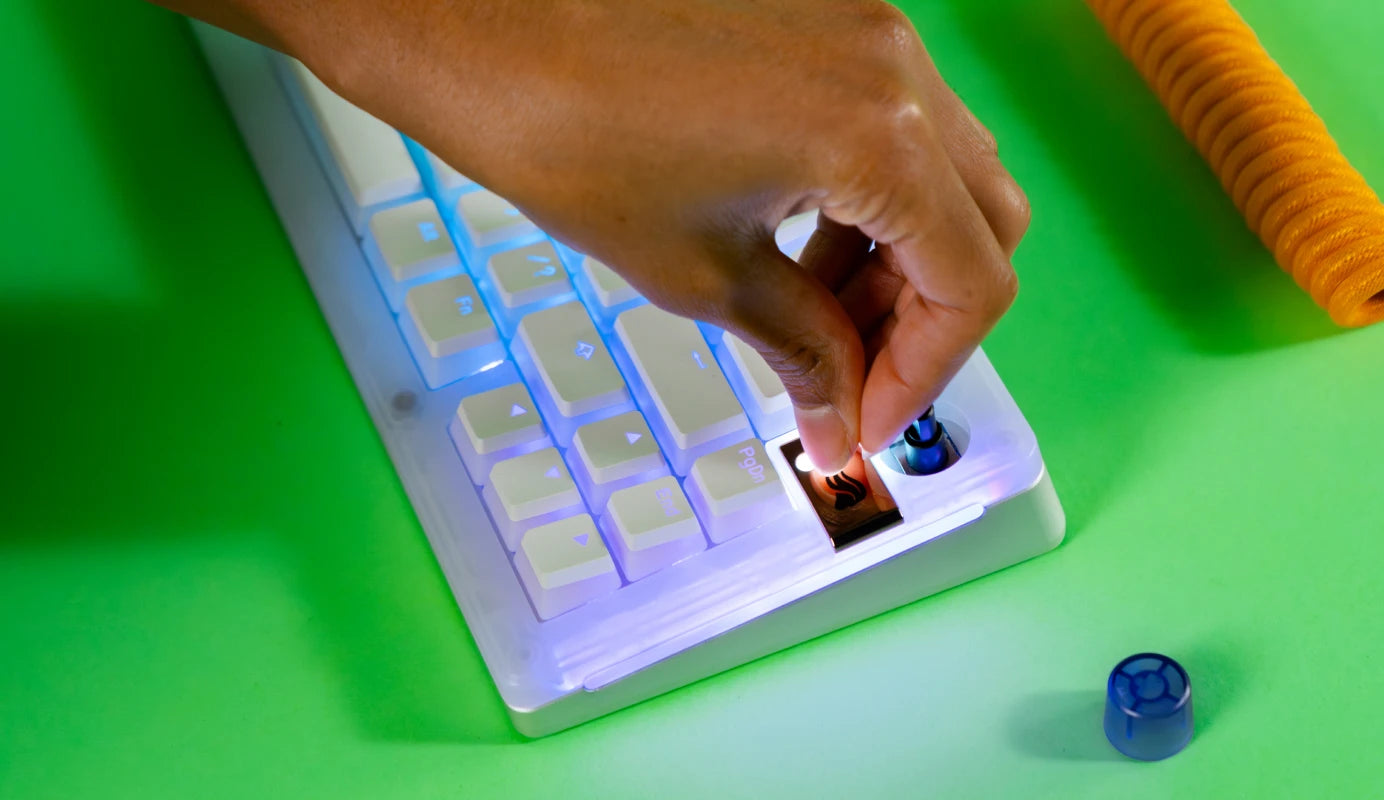
The GMMK 3's highly modular design lets you effortlessly tweak its finer details by swapping out the badge and knob in seconds, no tools needed.
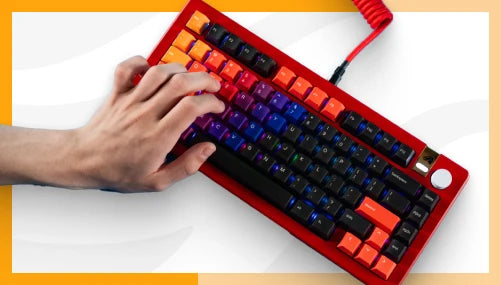
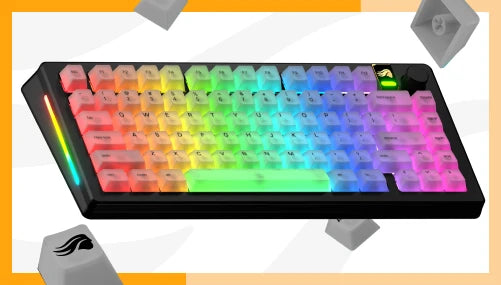
Want a cohesive look? Match them to your keyboard’s frame. Prefer a bold statement? Go for contrasting options. Accenting with accessories is limited only by your imagination!
What's in the Box?
If you’ve ordered a standalone GMMK 3 Badge, you should receive:
- 1 × GMMK 3 Badge
If you’ve ordered a standalone Glorious Rotary Knob, you should receive:
- 1 × Glorious Rotary Knob
Tools Needed
- [Optional] 1 × Screwdriver (Philips #00 if you did not keep the screwdriver included in your GMMK 3’s box)
The Rotary Knob
Removing the Rotary Knob
- Firmly grasp the current rotary knob with your dominant hand.
- Brace the keyboard with your other hand.
- Slowly but firmly pull the knob directly upward until it’s completely free from the keyboard.
a. Note: If you’re having trouble removing the knob, removing the keyboard’s top frame may make the process easier.
Installing the Rotary Knob
- Grab the knob you want to install and look underneath for the semicircle-shaped mounting insert.
- Align the knob’s insert with the matching shape on the keyboard's exposed metal post.
- Once aligned, press the knob onto the post slowly and firmly until it stops moving.
- To confirm it's properly installed, press the knob and listen for a click.
The Badge
Removing the Badge
- Use your thumb to slide the keyboard’s magnetic badge out of position. The direction is determined by your GMMK 3’s size.
a. 65%: Slide badge to the right
b. 75% & 100%: Slide upward
Installing the Badge
- Align the new badge with the empty badge slot, ensuring the Glorious head logo is closer to the edge of the keyboard.
- Allow the badge slot’s magnet to snap the badge into place.


Tips & Tricks
Pair your badge and knob with your keycaps for an easy and effective way to tie your entire GMMK 3 build together.
Match your badge and knob to a prominent color in your battlestation for a completely cohesive desk setup.
Use a color contrast or complement web app if you’re unsure which badge and knob colors would best suit your GMMK 3’s aesthetic.
Additional LInks
Support
Questions or concerns regarding your Glorious Rotary Knob and/or GMMK 3 Badge can be directed to our support team.
Note that Glorious is unable to offer comprehensive support for parts (switches, stabilizers, modding tools, etc.) purchased from other companies.
Warranty
Important Notices
- 1 year limited manufacturer warranty for Glorious Rotary Knobs and GMMK 3 Badges.
- Small objects could be swallowed.
- Keep out of reach of children below the age of 10.


