


How to Lube Mechanical Switches
HOW-TO
Change Switches (HE & MX)
Overview
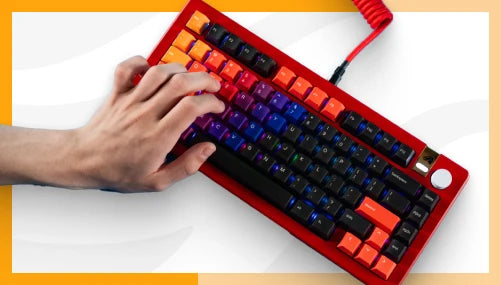
Switches are the heartbeat of your keyboard, defining its sound and feel. Choose the perfect style that matches your unique needs and preferences for a custom-tailored experience.
What's in the Box?
- Box contents vary by switch type
Tools Needed
- 1 × Keycap Puller (Included in your GMMK 3’s box)
- 1 × Switch Puller (Included in your GMMK 3’s box)[Optional]
- 1 × Screwdriver (Philips #00 if you did not keep the screwdriver included in your GMMK 3’s box)
Removing Switches
Before You Begin
- Make sure your keyboard is unplugged and wireless keyboards are powered off before proceeding to prevent accidental presses.
- Use the keycap puller to remove any keycaps from switches you intend to remove. Need help? Check out our keycap replacement guide.
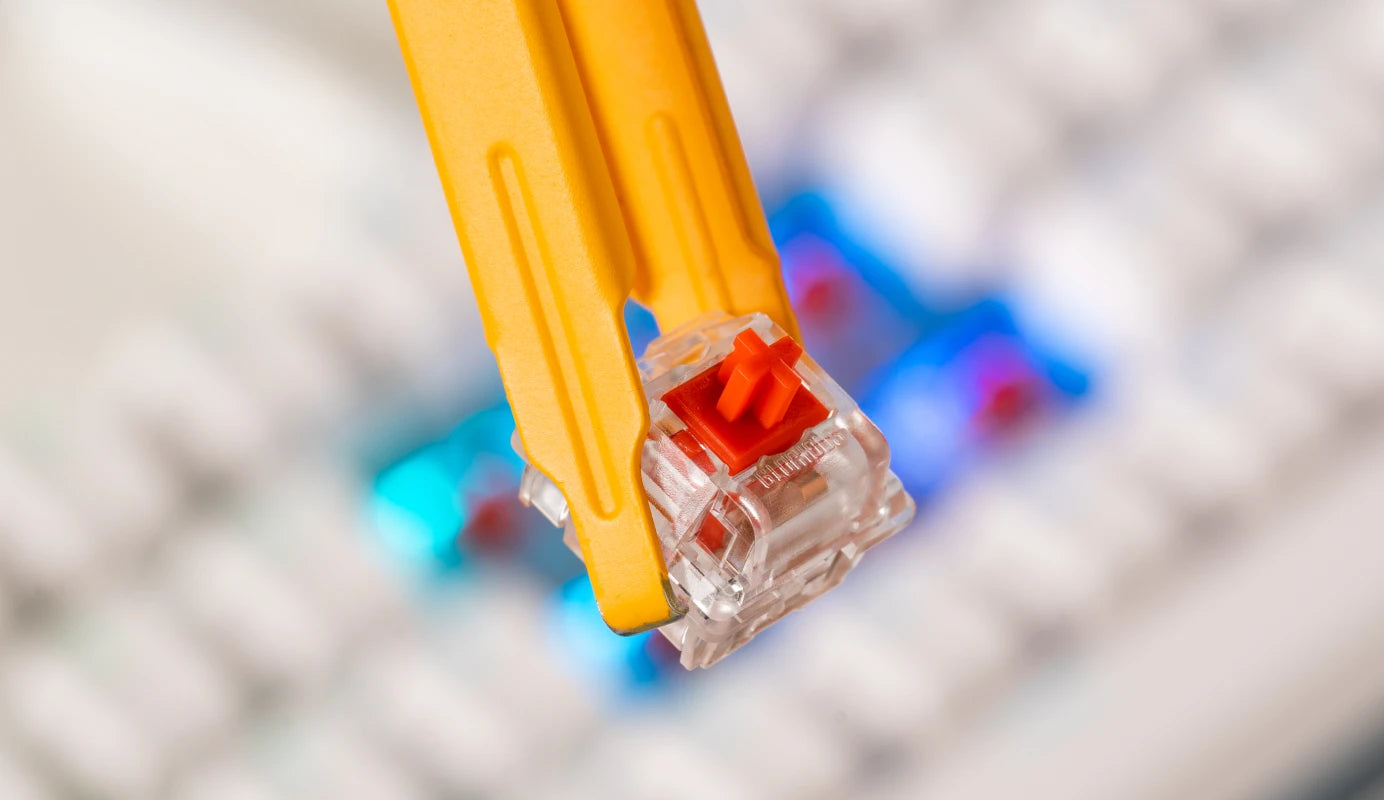
- Take your switch puller and use its metal teeth to push in the clips located at the base of the north and south sides of the switch you intend to remove.
- Squeeze in the puller until you hear a click alerting you the clips have been disengaged.
a. If removing MX switches: Once clips disengage, pull straight up to remove.
b. If removing HE switches: Once the clips disengage, the switch should automatically pop out of the socket without needing to pull up.
Installing Mechanical (MX) Switches
- Line up the switch you intend to install with the socket, paying attention to the holes in the keyboard’s PCB and the pins on your switch.
a. 3-pin MX Switches have a larger center pin and two metal legs
b. 5-pin MX Switches have a large center pin, two metal legs, and two additional plastic feet on each side.
c. HE Switches lack pins for alignment entirely, negating this step in the process. - Once aligned, slowly push the switch directly downward into place with gentle pressure. It should snap into place with minimal force.
- Replace your keycaps, and plug your keyboard back in.
Calibrating HE Switches
To ensure peak performance, we recommend using the switch calibration tool in our Glorious CORE software. This process makes sure features like Rapid Trigger and Customizable Actuation are recording your keypresses as accurately as possible.
- Download Glorious CORE.
- Make sure your GMMK 3 HE keyboard is plugged in to have it appear on the CORE homescreen. Click on it.
- Click the “Performance” tab.
- Click the “Being Calibration” button.
- Follow the on-screen instructions.
- Click “Confirm Calibration,” then “Okay” once you’ve completed the listed steps.
Tips & Tricks
Installation Check
Want to make sure your new switches are installed correctly? Use a key tester web tool to easily see which keys are sending a signal when pressed.
Switches Not Working
Are some of your mechanical switches not working? Remove the malfunctioning switches and check to see if their metal pins are bent. If so, check out our instructions on correcting bent pins.
Additional Links
Support
Questions or concerns regarding your Glorious Switches can be directed to our support team.
Note that Glorious is unable to offer comprehensive support for parts (switches, stabilizers, modding tools, etc.) purchased from other companies.
Warranty
Important Notices
- 1 year limited manufacturer warranty for Glorious Switches.
- Small objects could be swallowed.
- Keep out of reach of children below the age of 10.