
How to Lube Mechanical Switches
HOW-TO
Change Keycaps
Overview
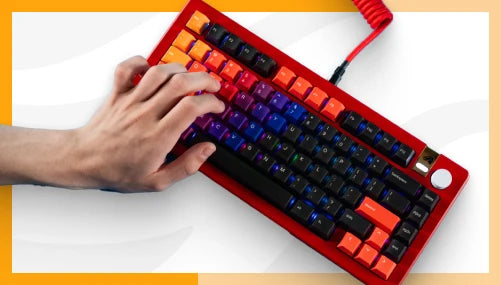
If your keyboard is the heart of your desk setup, keycaps are the vibrant personality.
Swapping out keycaps can transform your keyboard's look and feel, whether you're changing colors, materials, or adding a touch of RGB flair.
The process is simple and satisfying, turning into a therapeutic experience when accompanied by your favorite playlist.
What's in the Box?
- Box contents vary by keycap set
Tools Needed
- 1 × Keycap Puller (Included in your GMMK 3’s box)[Optional]
- 1 × Screwdriver (Philips #00 if you did not keep the screwdriver included in your GMMK 3’s box)
Removing Keycaps
Before You Begin
To make storing and reusing your removed keycaps easier, organize them in the same order as they were on the keyboard. This way, placing them on another keyboard later will be a breeze.
- Make sure your keyboard is unplugged and wireless keyboards are powered off before proceeding to prevent accidental presses.
- For square, alphanumeric keys, use your keycap puller by pressing its “arms” onto the North/South ends of the keycap until you hear a click as its "feet" secure around the bottom.
- Slowly but firmly pull directly upward to remove the keycap.
- Congratulations!
For the Spacebar, do the same process to dislodge one side of the key before doing the same on the opposite side.
For ISO Enter keys, hook one of the puller’s feet under the bottom right corner of the keycap, pulling up to dislodge. Do the same for the top left corner.
Removing Hard-to-Reach Keycaps
Some keys on the GMMK 3, such as "Esc" and "Fn," may be challenging to remove with the included keycap puller due to tight spaces between the keycap and the frame. In these cases, we recommend removing the GMMK 3's top frame for easier access.
- Flip the keyboard over to access its underside, ideally resting it on a softer surface like a large mousepad.
- Use your fingernail or a plastic pry tool to remove the keyboard’s rubber feet inserts. The amount will vary depending on the size and case material.
a. Metal 65% & 75%: 4 Feet Positions
b. All Plastic & 100% Metal: 8 Feet Positions - Using your screwdriver, remove the keyboard’s case screws located directly beneath its rubber feet positions, and place them aside.
a. Metal 65% & 75%: 4 Case Screws
b. All Plastic & 100% Metal: 8 Case Screws - Bracing both the keyboard’ top and bottom cases, carefully flip the keyboard back over.
- Lift the keyboard’s top case up and away before setting to the side.
- Use your keycap puller by pressing its "arms" onto the North/South ends of the keycap until you hear a click as its "feet" secure around the bottom.
- Slowly but firmly pull directly upward to remove the keycap.
Closing Up Your Keyboard
- Ensure proper alignment before placing the top case back on.
- Keeping the top and bottom cases pressed together, carefully flip the keyboard back over to access the case screw positions.
a. Tip: Struggling to keep everything in place while screwing the cases together? Try setting your keyboard upright, perpendicular to your desk. - Screw the top and bottom cases back together, starting with the corners before moving inward. At the start, use your hand to gently press the cases together to make the process easier.
- Congratulations!
Installing Keycaps
- Make sure your keyboard is unplugged and wireless keyboards are powered off before proceeding to prevent accidental presses.
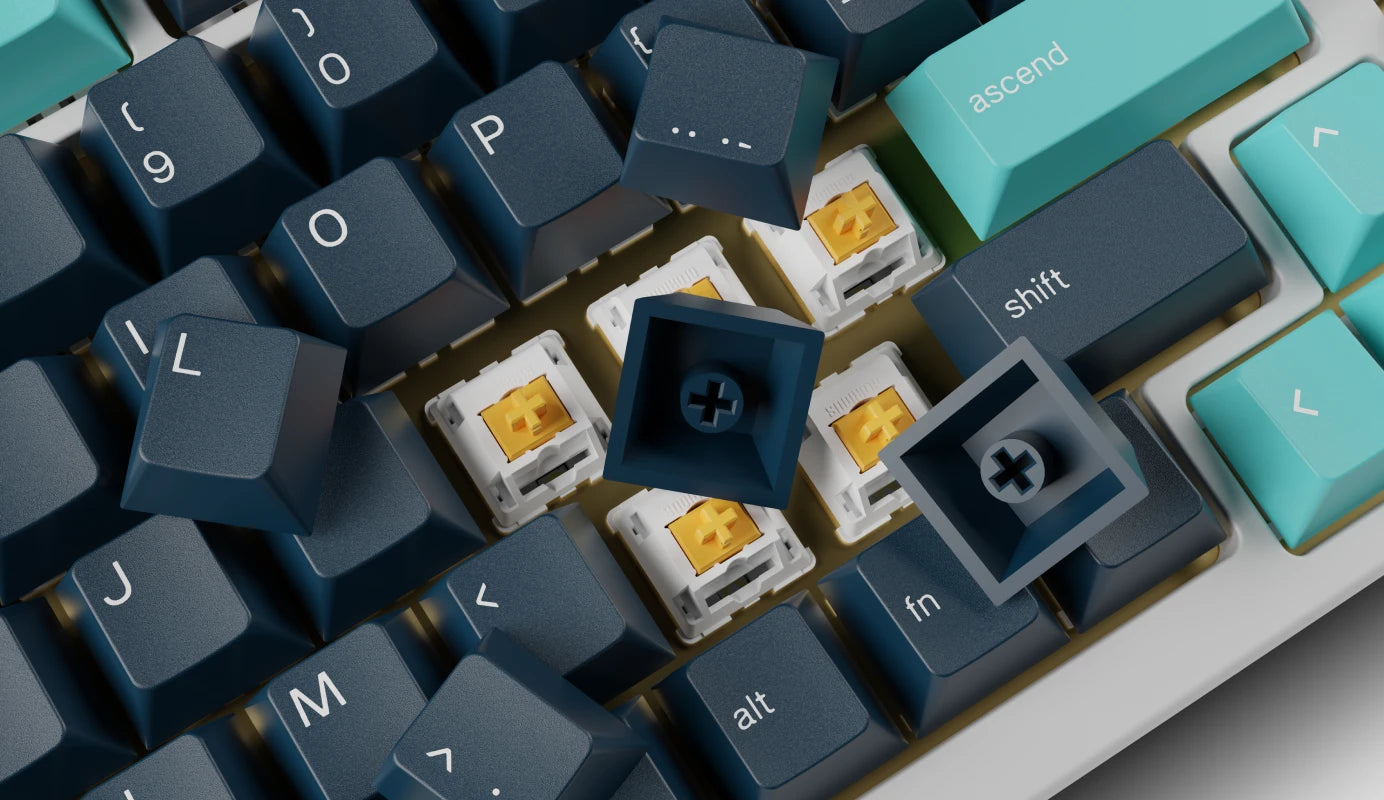
- Grab the keycap you want to install.
- Align the cross-shaped stem of the switch with the cross-shaped hole under the keycap.
- Slowly but firmly push it onto a bare switch until fully seated.
For longer keys with stabilizers, ensure all three cross-shaped holes on the keycap align with the stems of the switch and the stabilizer. Press down in the middle and on each side of the keycap to ensure an even and secure installation.
Tips & Tricks
Keycap Placement
Unsure where keycaps go? Use the back of the box they came in as a map to reference where they go. Or visit its product page on our site if you’ve discarded the box.
Height Variations
Notice height variations among keycaps in the same row? Ensure taller keys are fully seated with a firm, but not forceful, press. If a keycap's angle looks off, double-check that you're using the correct keycap version for that specific row.
Rattling
Does your Spacebar, Enter, Shift, and/or Backspace “tick” or “rattle” when pressed? Make sure the keycap is fully seated on the switch and its two stabilizer points to ensure consistent contact when pressed.
Additional Links
Support
Questions or concerns regarding your Glorious Keycap Set can be directed to our support team.
Note that Glorious is unable to offer comprehensive support for parts (switches, stabilizers, modding tools, etc.) purchased from other companies.
Warranty
Important Notices
- 1 year limited manufacturer warranty for Glorious Keycap Sets.
- Small objects could be swallowed.
- Keep out of reach of children below the age of 10.