
Product Guide Model I 2 Wireless
PRODUCT GUIDE
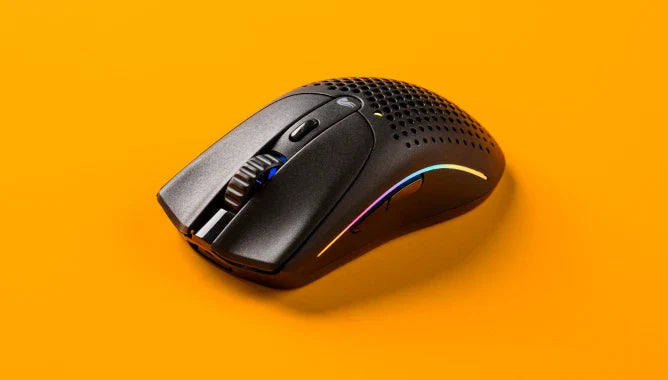
Model I 2 Wireless
Getting Started
Set-Up
What's in the Box?
• 1× Glorious Model I 2 Wireless Gaming Mouse
• 1× Set of Magnetic Side Buttons with Removal Tool
• 1× USB-A to USB-C Ascended Charging Cable
• 1× 2.4GHz Wireless Receiver USB
• 1× USB-A to USB-C Adapter
Glorious mice come with blue protective film on the G-Skates mouse feet in order to protect them. Ensure you remove these coverings before use.
Plug & Play
We recommend fully charging your Model I 2 Wireless before using it for the first time in wireless mode. The mouse can be used normally in wired mode. Total charge time from zero to full battery is approximately 2 hours.
Plug the USB-A end of the Ascended cord into your PC and the USB-C end into the USB-C port located on the front of the mouse, hex symbol up. The mouse will automatically install all necessary drivers.
Wireless USB Receiver
Once the mouse is fully charged, toggle the switch on the bottom of the mouse to "2.4" and plug the USB Receiver into any available USB port on your PC. It is paired with the mouse out of the box and should be kept at close range for optimal performance.
Wireless Bluetooth
Once the mouse is fully charged, toggle the switch at the bottom of the mouse to “BT.” Press and hold the DPI+, Home, and Forward buttons until the LEDs flash blue to indicate that the mouse is discoverable. The mouse will show as “Model I 2” on your PC. Follow the instructions on your PC to successfully pair the mouse via Bluetooth. Once successfully paired, the mouse will discontinue flashing blue and revert to its previous lighting effect.
Bluetooth connectivity requires a PC with built-in Bluetooth or an external Bluetooth adapter (purchased elsewhere).
System Requirements
• Available USB port
• Windows 7+, MacOS, Linux
Software
Glorious CORE
Instructions for downloading Glorious CORE are available at the link below. This software is not required to use the mouse, but is needed to unlock a fully customizable experience - create custom macros, rebind mouse functions, unlock the full RGB color palette, and save personalized DPI settings.
(Windows OS only)
Mouse Layout
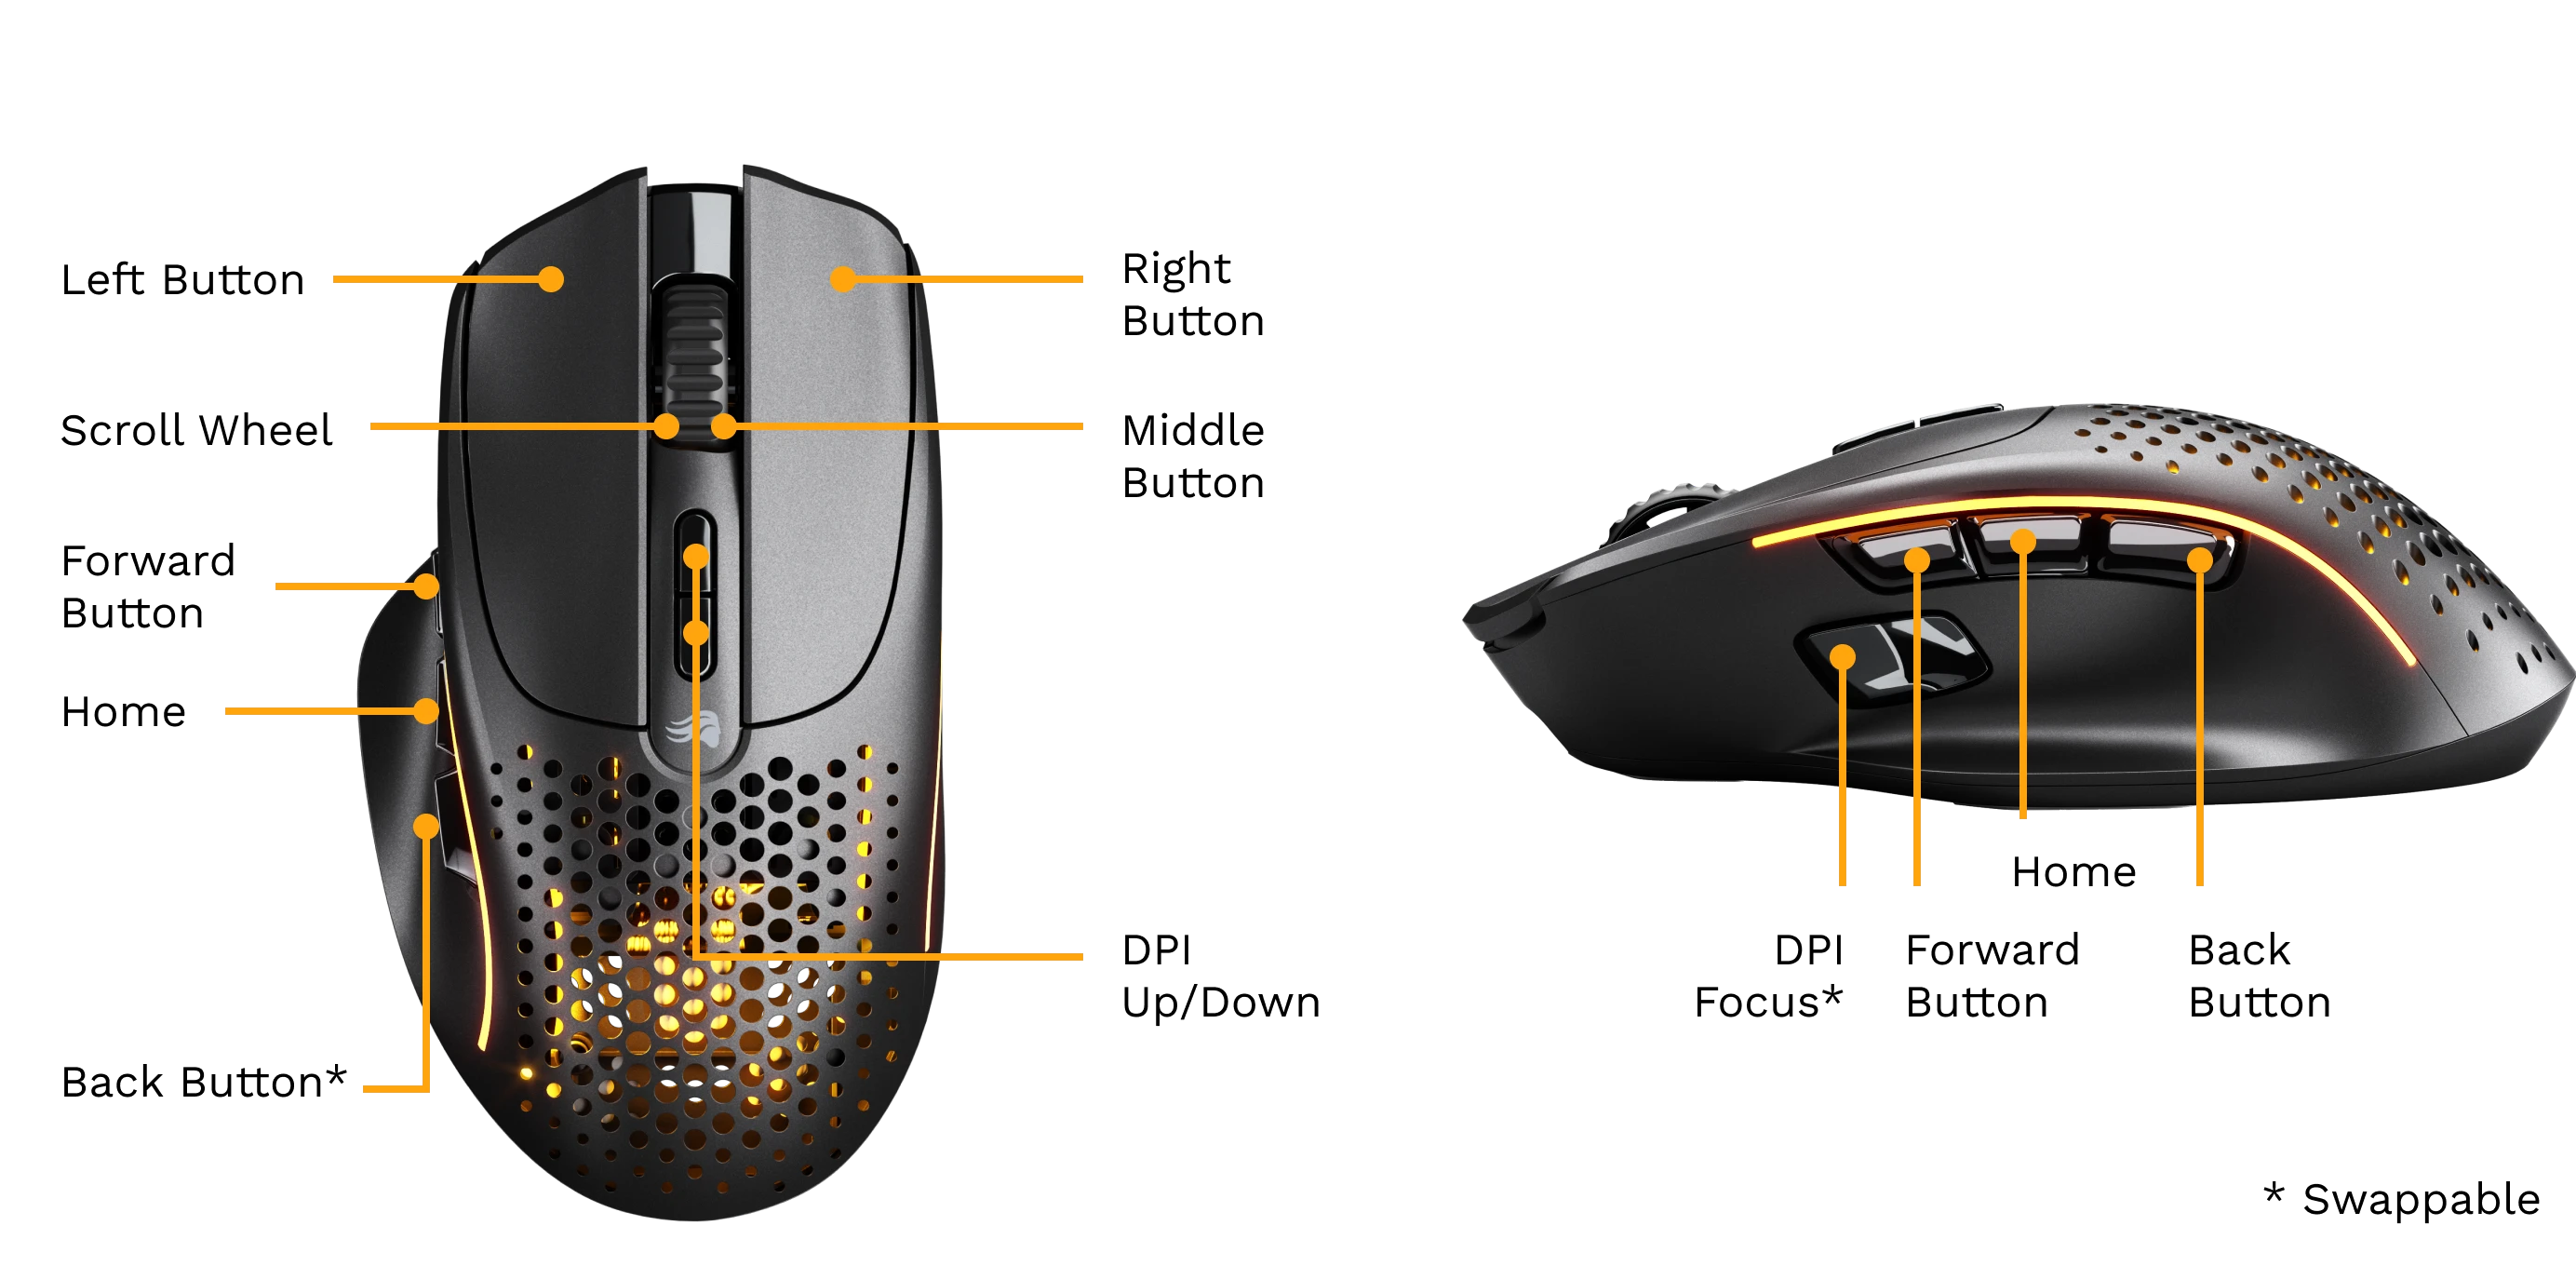
The Model I 2 Wireless is an ergonomic mouse with a thumb rest and nine buttons, including a pressable scroll wheel and four side buttons.
Default DPI Levels
The DPI Indicator on the bottom of the mouse will show a color to reflect which DPI level is currently active. Cycle up through DPI levels by pressing the DPI+ Button located behind the scroll wheel. Cycle down through DPI levels by pressing the DPI- button located behind the DPI+ button.
DPI values, the default DPI level, and the colors used to indicate levels can be customized in Glorious CORE software.
400 DPI
Yellow
800 DPI
Blue
1600 DPI (Default)
Red
3200 DPI
Green
400 DPI
Yellow
800 DPI
Blue
1600 DPI (Default)
Red
3200 DPI
Green
Side Buttons
DPI Focus Button
The DPI Focus button is the larger side button near where your thumb rests on the mouse, below the other three side buttons. Pressing and holding this button will temporarily change the DPI of your mouse. The default DPI Focus is 400 DPI.
This setting can be changed in Glorious CORE under the "Key Binding" tab. This function can also be bound to any other mouse button as desired by using CORE.
Swappable Magnetic Buttons
The Model I has four total buttons on the left side. Two of these buttons are magnetic and removable, allowing you to change their shape to compliment your play style.

The first removable button is the DPI Focus button, located near where your thumb rests below the other three side buttons.
The second removable button is located at the rear of the group of three side buttons.
Removing a Side Button
1. There is a small groove at the front of the button. Place the included tool or your fingernail into this opening.
2. Lightly lift your finger and the button away from the side of the Model I. Since the buttons are magnetic, you will feel a small amount of resistance as you do this.
3. The magnetic button should begin to slowly pull away from the mouse and lift from the slot. Do this slowly and carefully to ensure that the button does not fly out of your hand and get lost.
Installing a Side Button
1. Select your preferred mouse button shape from the three provided options.
2. Looking at the button interior, you will notice two posts that help it attach to its respective magnetic slot. The first post is flat & horizontal. The second is circular with a hole in the middle. Line up these posts with the matching holes in the empty button slot.
3. Insert the round post into the rear of the slot before inserting the front, horizontal post.
4. Once aligned, the magnets should pick up the replaceable button and snap it securely into place.
Lighting Effects
The Model I 2 Wireless has built-in LED effects that can be changed using the button combinations below. More RGB options are available in Glorious CORE.
Button Combinations
Change Lighting Effect
Middle + Button 4 + DPI+
Adjust Brightness
Middle + DPI+ + Right Mouse Button
Adjust Speed
Middle + DPI+ + Button 5
Change Color
Middle + DPI+ + Left Mouse Button
Change Lighting Effect
Middle + Button 4 + DPI+
Adjust Brightness
Middle + DPI+ + Right Mouse Button
Adjust Speed
Middle + DPI+ + Button 5
Change Color
Middle + DPI+ + Left Mouse Button
Lighting Effects
Glorious Mode (Default)
5 Brightness Levels;
3 Speeds
Seamless Breathing (RGB)
5 Brightness Levels;
3 Speeds
Breathing (RGB)
5 Brightness Levels;
3 Speeds
Single Color
5 Brightness Levels;
No Speed;
7 Colors
Breathing (Single Color)
5 Brightness Levels;
3 Speeds;
7 Colors
Tail
5 Brightness Levels;
3 Speeds
Rave
5 Brightness Levels;
3 Speeds
Wave
5 Brightness Levels;
3 Speeds
LEDs Off
(LEDs Turn Off)
Battery
When the Model I 2 Wireless is low on power, the LEDs will shut off, except for one LED in the left strip, which will blink red to indicate that the mouse should be plugged in to charge.
The battery level can be checked in wireless mode by pressing and holding the DPI+ button. The RGB strips will blink in the color corresponding to the battery level. This can be disabled by pressing and holding the DPI button again. Battery level can also be found in the Glorious CORE software.
Note that the battery life of the mouse is negatively impacted by the brightness of the lighting. The brightness can be adjusted via the button combination described above in Lighting Effects or through Glorious CORE.
0-25% Battery
Red LEDs
26-60% Battery
Orange LEDs
61-90% Battery
Yellow LEDs
91-100% Battery
Green LEDs
0-25% Battery
Red LEDs
26-60% Battery
Orange LEDs
61-90% Battery
Yellow LEDs
91-100% Battery
Green LEDs
Product Specs
Model I 2 Wireless
Weight
75g ± 3g
Sensor
Glorious BAMF 2.0 Optical Sensor
Switch Type (Main Buttons)
Glorious Switches
Rated for 80 Million Clicks
Number of Buttons
9
Max Tracking Speed
650 IPS
Acceleration
50G
Max DPI
26,000
Max Polling Rate
1000Hz (1ms) (Default)
Lift Off Distance
1-2 mm (Adjustable with Software)
1 mm Default
Debounce Time
4-16 ms (Adjustable with Software)
10 ms Default
Connection
USB 2.0;
2.4GHz Wireless;
Bluetooth® 5.2 LE
Battery Life
110 Hours (2.4GHz);
210 Hours (Bluetooth 5.2 LE)
**RGB Off
Reset to Factory Default
The Model I 2 Wireless can be restored to factory settings by pressing and holding the left, right, and scroll click buttons for 5 seconds. The LEDs will flash green to indicate that the settings are being reset.
This action will erase all custom profile information from the mouse.
Additional Links
Support
Questions or concerns regarding your Glorious mouse can be directed to our support team.
Warranty
Important Notices
• 2-year limited manufacturer warranty
• Warranty does not cover damages resulting from opening the mouse.
• Keep out of reach of children below the age of 10.
Product Registration
Registering your product extends the warranty by an additional year (free of charge) on eligible devices. To be eligible, register your device within 365 days of date of purchase.