a black keyboard with many small buttons

Mistakes to Avoid When Installing Switches Into a Hotswap Mechanical Keyboard

Guides & Resources

Jul 27 2021

Mechanical keyboard PCBs typically come in two forms: hotswap and solder. Solder PCBs require a specialized tool, wire, and a basic understanding of how to solder components together.

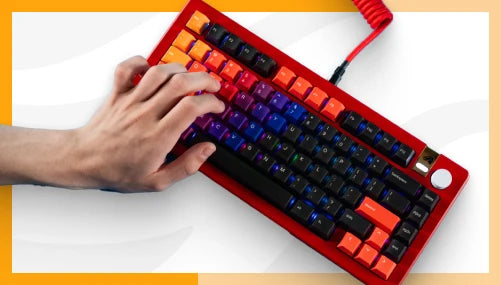
Hotswap PCBs allow users to plug and play with their mechanical keyboard switches. No soldering experience or equipment is required; users line up a switch with its respective socket and carefully push it in.

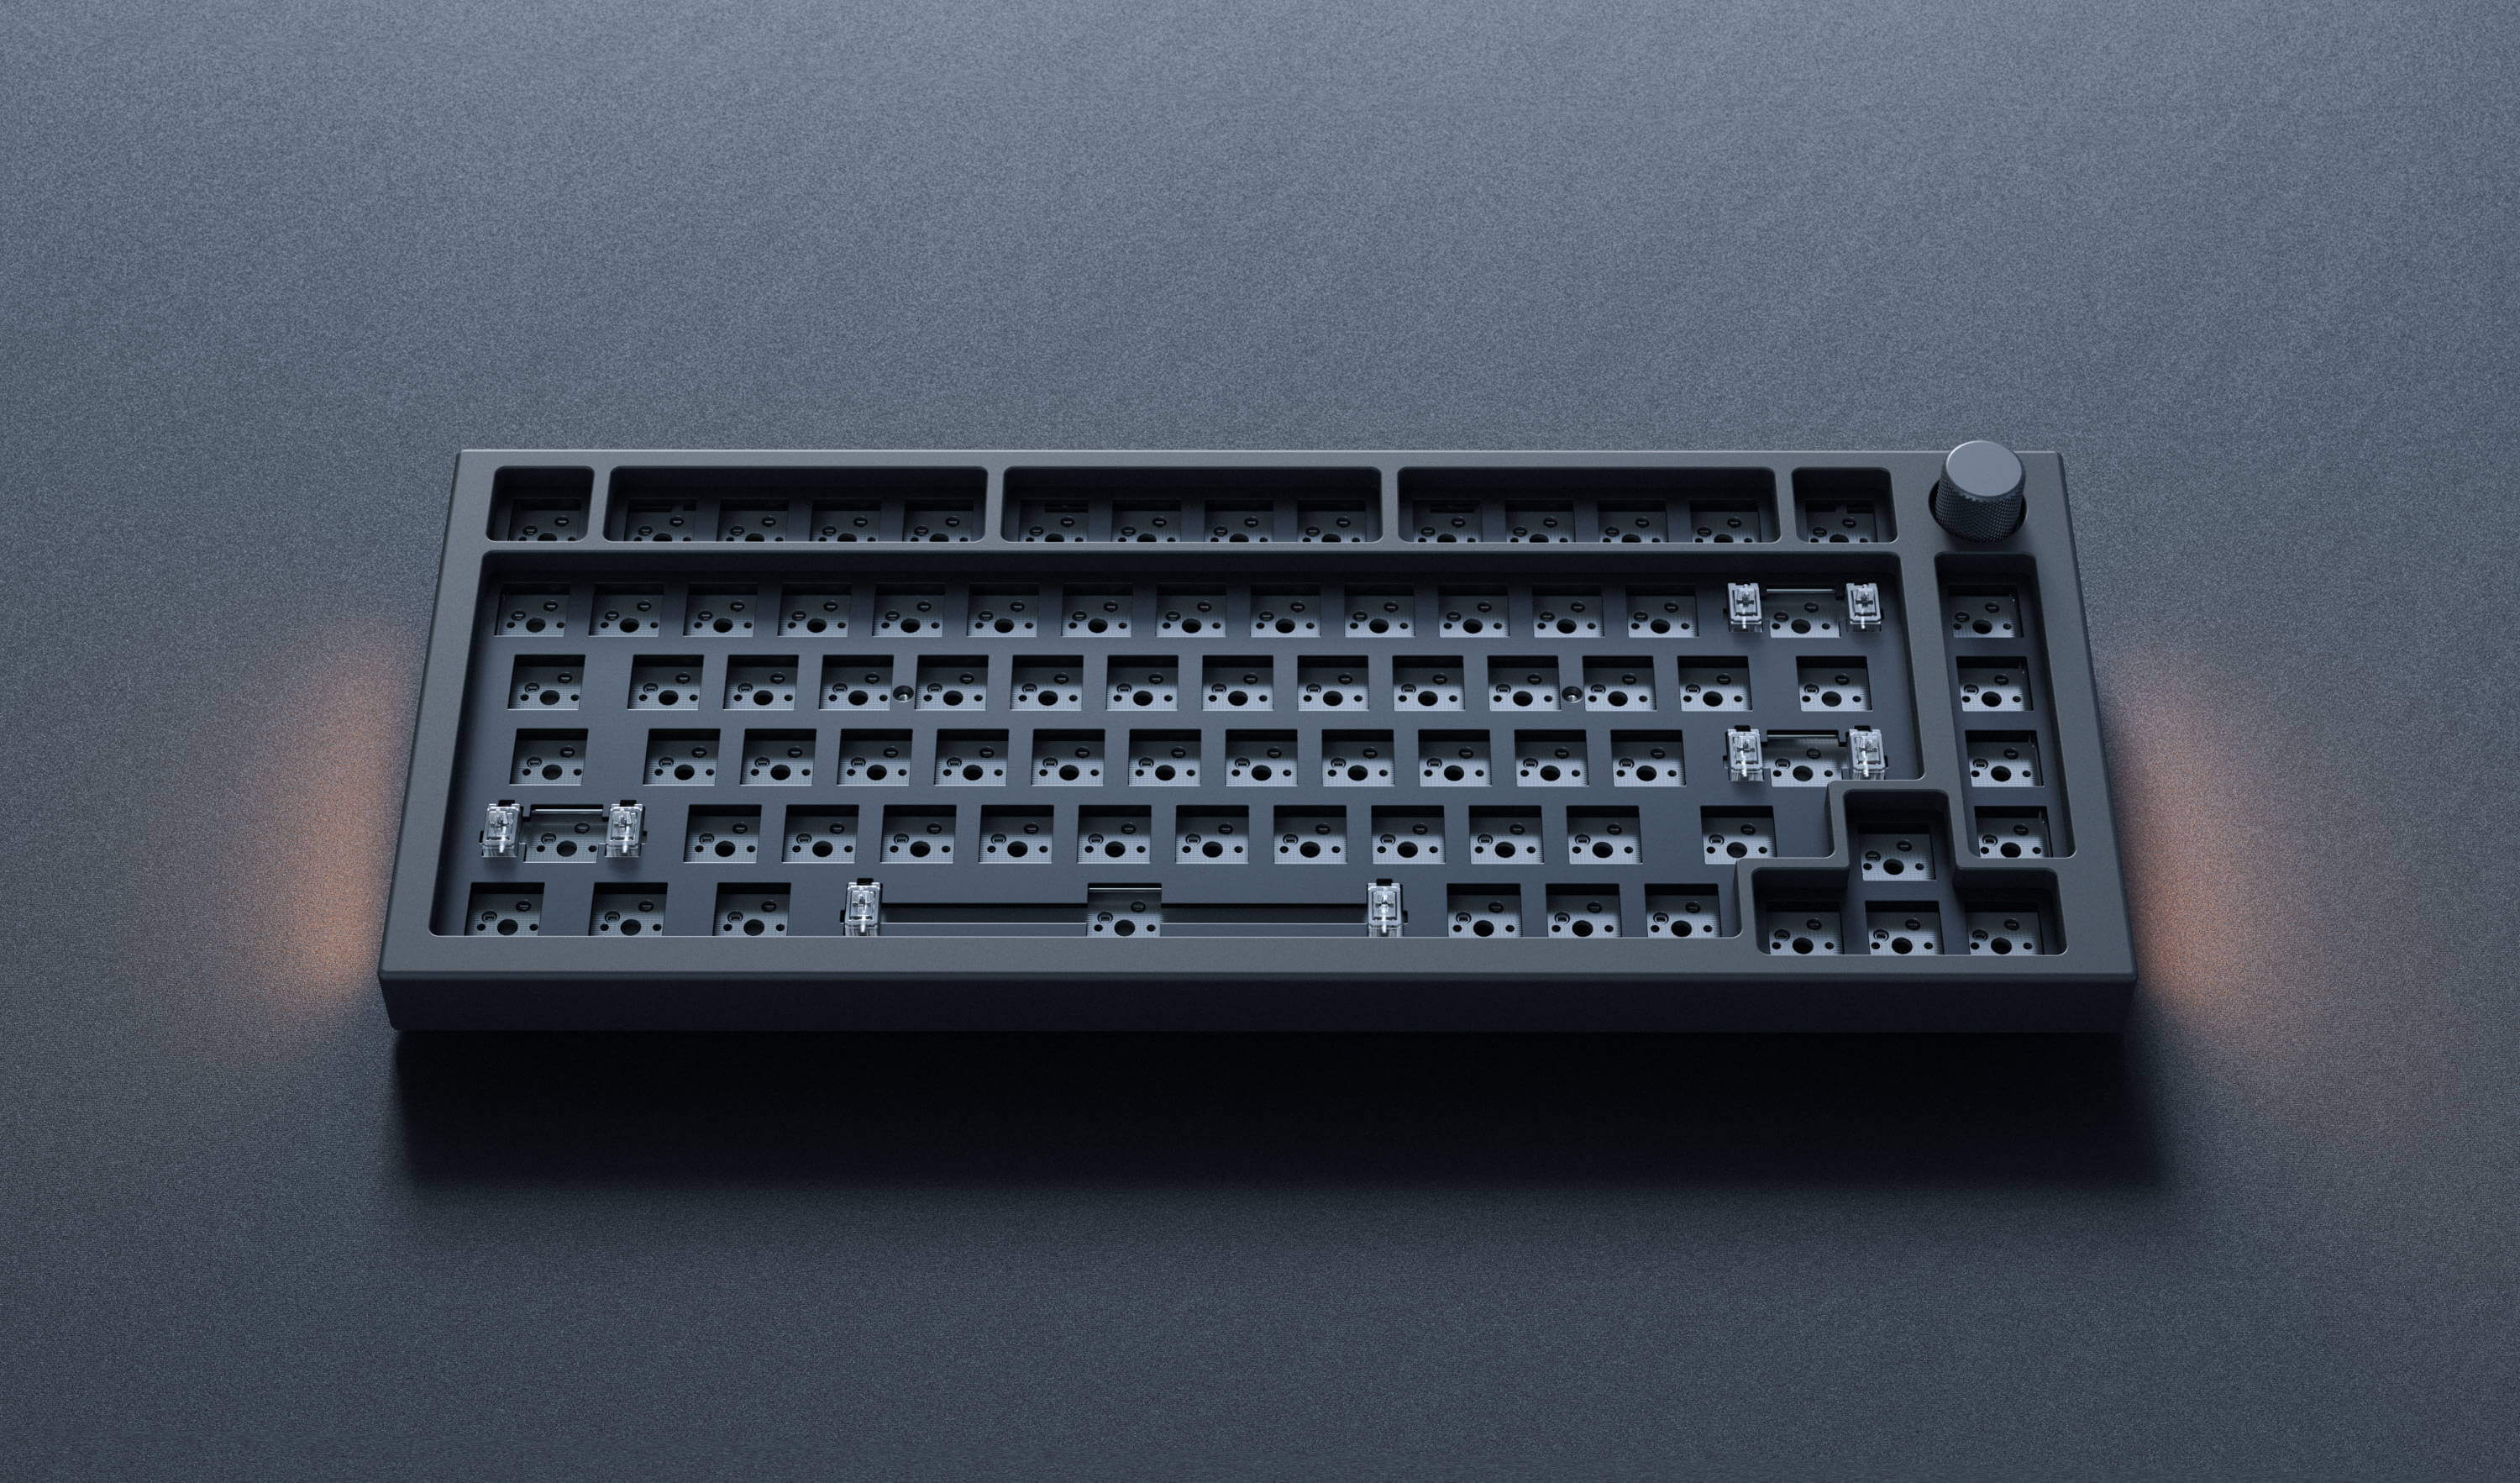
Our keyboards, including the GMMK and GMMK PRO, come with modular, hotswap sockets that allow for a solder-free installation process.

However, this process can be a little more intensive than how it sounds. While the margin for error is much less than soldering, there are still some key things to remember before slotting in your switches.

a close up of a keyboard

View of a hotswap PCB's switch socket

Be Careful With Switch Pins


First, let's break down the components of a hotswap socket on a mechanical keyboard's PCB. The two larger holes are where the switch's metal pins make contact and connect with the board.

It is essential to ensure these pins are not bent on installation. If they do not go into the slot correctly, it can cause the key not to register correctly. We suggest installing switches on a softer surface and with minimal pressure.

Switches should easily slot into place without a ton of force applied. If you feel that you need to push hard to get it in, remove the switch and check the pins.

If the pins are bent, you can use a pair of tweezers to flatten them out before attempting to install the switch again. Be more careful this time, as the pin is more likely to bend now that it is weaker.

a close up of a device

The underside of a 5 pin mechanical keyboard switch

Understanding 3 Pin vs. 5 Pin Switches


There are two types of switch lower housings: 3 pin and 5 pin.

3 pin switches lack two little plastic legs on each side of their bottom housing, while 5 pin switches come with them.

You will notice holes for these legs on PCBs with 5 pin support. They are located on each side of the socket.

These legs do not affect function, but they keep the switch more firmly seated in the hotswap socket.

Some hotswap PCBs do not have 5 pin support. These PCBs require you to clip the legs with small hobby clippers to install the switch.

Note: you should only need to clip the two plastic legs. Do not clip the metal pins.

If you have a 3 pin switch with a 5 pin socket, no action is required to install it. However, you may notice the switch comes out of the socket quite easily when removing keycaps.

Go Slow & Be Intentional


The last tip we want to share is to go slow and with intent. Do research on hotswap sockets, the switches you are using, and the specific keyboard you're using.

It can be easy to get excited to slot in your switches into your new hotswap board, but speeding raises the chance for error. Trust us - we are talking from personal experience!

If you do have a bent pin or extra legs, watch some YouTube tutorials on the process to ensure your switches do not face catastrophic damage. Once again, be sure to take it slow when fixing them.


We hope that this guide helped you better understand how to install mechanical switches into a hotswap keyboard.

The process is intuitive and straightforward, but it never hurts to be aware of potential problems that may arise and avoid them.

Do you use a hotswap keyboard? What switches have you installed on the board? Comment below and let us know - we would love to hear from you!